
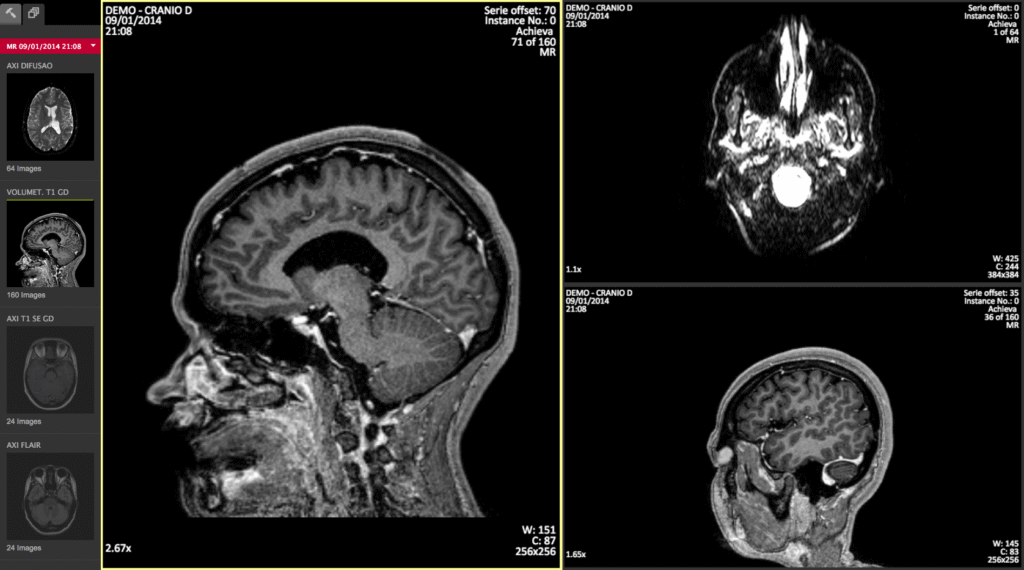
Imagine a world where medical images, such as X-rays or MRIs, are just a click away, no matter where you are.
That’s the power of an HTML5 DICOM viewer—a tool that lets you see these images right in your web browser.
In this article, you’ll discover how to connect it with your healthcare systems to make your work faster and easier.
Understanding the HTML5 DICOM Viewer
Let’s break it down. Medical images are saved in a format called DICOM, which stands for Digital Imaging and Communications in Medicine.
Normally, you’d need special software to view them, but that can be a hassle. An HTML5 DICOM viewer changes that.
It uses HTML5, a common web technology, to let you open these images on any device with a browser—no extra downloads needed.
Why does this matter to you? It means doctors can check a patient’s scan on a tablet during a visit or share it with another expert miles away. It’s all about making things simpler and quicker.
Why Connect It to Your Healthcare Systems?
You probably already have systems for patient records or appointments. Adding an HTML5 DICOM viewer to them can make your day-to-day tasks smoother. Here’s why it’s worth it:
- Access Anywhere: You can pull up images on any device with internet, perfect for working remotely or in a rush.
- Teamwork Made Easy: Multiple people can look at the same image at once, helping you make faster decisions.
- Save Money: No need for pricey software on every computer—just use the browser you already have.
Connecting it isn’t just adding something new; it’s about making what you already use even better.
How to Make the Integration Happen?
Getting this tool into your systems doesn’t have to be hard. You can do it by focusing on a few key areas.
First, take a good look at what you’re currently using. What software handles your patient data or images? Knowing this helps you figure out where the viewer fits.
Next, pick a viewer that works with what you have. Not every option will match your needs, so look for one that’s easy to use and secure.
Security is huge here—patient info must stay safe, so check that it follows rules like HIPAA if you’re in the US.
Then, get your IT crew or a trusted helper to set it up. This might mean tweaking some settings or testing it out to make sure everything runs smoothly. Don’t rush—test it well so you’re confident it works.
Here’s a simple table to sum it up:
| Task | What to Do |
| Check Your Systems | See what software you use now |
| Pick a Viewer | Find one that fits and is secure |
| Set It Up | Work with IT to install and test it |
Tackling Common Problems
Nothing’s perfect, right? You might hit some bumps when adding the viewer. Maybe your current systems don’t play nice with it—talk to your IT team to sort that out.
Or perhaps your staff isn’t thrilled about learning something new. Offer some quick training to get them on board.
If you’ve got tons of old images, moving them over can take time. Plan ahead so it doesn’t mess up your day. By thinking about these issues early, you can keep things running without too much stress.
Tips for Doing It Right
Want to nail this integration? Start by talking to everyone involved—doctors, nurses, IT folks.
They’ll tell you what they need. Security comes first—use strong passwords and encryption to keep data safe.
Don’t stop after it’s set up. Keep helping your team with training so they feel good using it. Also, check in now and then to see how it’s working.
If something’s off, fix it fast. These steps make sure the viewer isn’t just added but actually helps you in the long term.
Wrapping It Up
Bringing an HTML5 DICOM viewer into your healthcare systems can change how you deal with medical images.
It’s about easier access, better teamwork, and saving some cash—all while improving patient care.
Follow the ideas here, and you’ll get it done without a headache. Plan well, get your team involved, and keep security tight.
This kind of healthcare technology can put you ahead in today’s medical world.