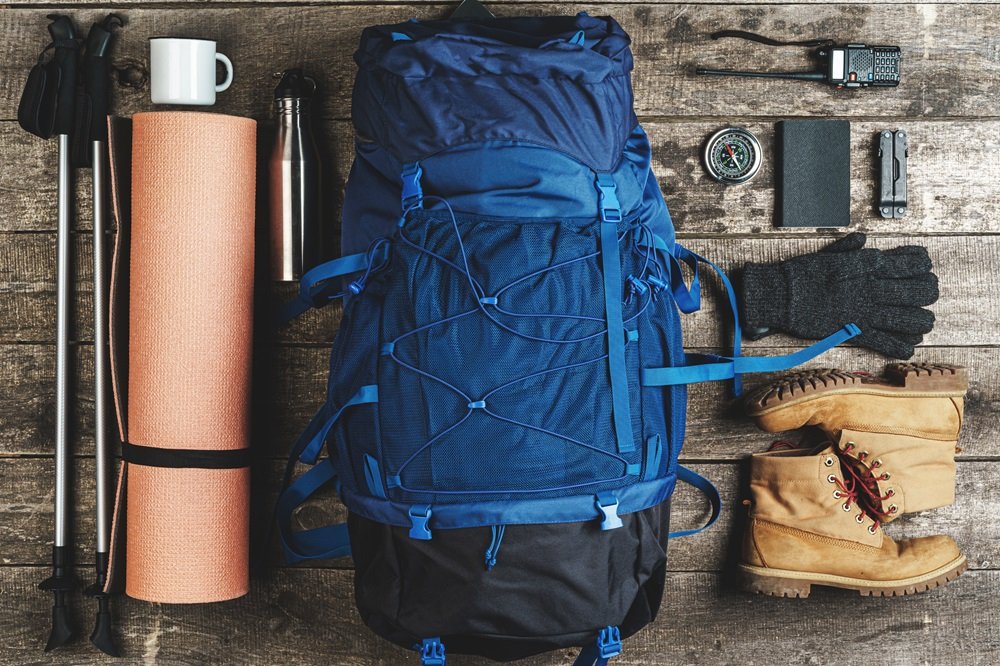
When you’re in the market for outdoor equipment, buying used gear can save you serious cash.
But nothing ruins an adventure faster than discovering your “great deal” is actually falling apart. That’s why knowing how to inspect before you buy is essential.
Why Create a Pre-Purchase Inspection Checklist?
A thorough inspection before buying second-hand outdoor equipment helps you avoid costly mistakes.
Checking used gear methodically means you’ll catch issues that might not be obvious at first glance.
According to a 2023 Outdoor Industry Association report, the second-hand outdoor equipment market grew by 25% in the last year, with 67% of buyers reporting they found issues after purchase that weren’t disclosed.
How to Build Your Custom Inspection Checklist
Creating your own checklist isn’t complicated. You just need to think about what matters most for each type of equipment.
Step 1: Research Common Failure Points
Every piece of outdoor equipment has weak spots. Backpacks often fail at the seams, bikes may have worn bearings, and tents frequently have hidden tears or broken zippers.
Start by searching online for:
- Common complaints about the specific item
- Recall notices for that brand and model
- Typical lifespan of similar products
Pro tip: Forums like Reddit’s r/GearTrade or r/CampingGear can provide real insights into what breaks first.
Step 2: Create Category-Specific Sections
Different gear needs different checks. Here’s a sample table of what to look for in some popular categories:
| Equipment Type | Key Inspection Points | Red Flags |
| Backpacks | Seams, zippers, straps, frame | Fraying fabric, zipper catches, repairs |
| Tents | Poles, rainfly, floor, stakes | Mildew smell, tears, sticky zippers |
| Bikes | Frame, wheels, brakes, gears | Rust, uneven tire wear, bent components |
| Kayaks | Hull integrity, seating, storage | Cracks, UV damage, leaking hatches |
Step 3: Include Performance Tests
Don’t just look at the gear—test it in action when possible. For example:
For a tent, set it up completely. Does it stand properly? Are all parts there?
For a stove, try to light it (safely, of course). Does it maintain even heat?
For electronics like GPS units, check battery life and ensure all functions work.
Remember that testing equipment before purchase can reveal problems that visual inspection alone might miss.
Making Your Checklist Portable and Practical
The best checklist is one you’ll actually use. Consider these formats:
- Save it as a note on your phone
- Print a laminated copy to keep in your car
- Create a simple spreadsheet
Whatever format you choose, make sure it’s easily accessible when you’re examining potential purchases.
Example: Complete Checklist for Buying a Used Backpack
- Visual Inspection
- Check all seams for fraying or separation
- Examine zippers by opening and closing multiple times
- Look for tears, punctures, or worn patches
- Check straps for fraying or stretching
- Functional Testing
- Try all buckles and fasteners
- Adjust straps to various positions
- Test with some weight inside (10-15 pounds)
- Wear it for at least 10 minutes
- Specific Problem Areas
- Bottom corners (high wear area)
- Shoulder strap attachment points
- Belt and sternum strap functionality
- Internal frame integrity

Price Negotiation Based on Your Findings
Your inspection checklist becomes a powerful negotiation tool. If you find minor issues, you can often negotiate a better price.
According to a survey by GearJunkie, buyers who used detailed checklists reported paying an average of 15-20% less than the asking price by pointing out issues the seller hadn’t noticed or disclosed.
Never feel bad about negotiating based on actual flaws you’ve found—it’s not just about saving money, but about ensuring the price reflects the true condition.
Final Thoughts on Smart Second-Hand Shopping
Creating a pre-purchase inspection checklist for used outdoor equipment might take a little time upfront, but it pays off enormously.
Not only will you avoid buying gear that fails when you need it most, but you’ll also develop an eye for quality that serves you well in all your purchases.
Remember that even gear with some wear can be an excellent buy if the price reflects its condition and the important functional elements are intact.
Your checklist helps ensure you’re making informed decisions about the used gear you buy, saving money while still getting equipment that will support your outdoor adventures for years to come.
Q&A
Why is it necessary to inspect used outdoor gear if the seller says it’s in “good condition”?
Answer:
Because “good condition” is subjective and many sellers may overlook or not notice subtle issues.
According to the article, 67% of buyers discovered problems after purchase that were not disclosed.
A proper inspection ensures you know exactly what you’re getting, reducing risk and surprises later.
What are the most common things that go wrong with used gear?
Answer:
It depends on the item, but common failure points include:
- Backpacks: seam separation, worn zippers, frayed straps
- Tents: torn floors or rainflies, broken poles, mildew
- Bikes: rust, gear issues, worn brakes or tires
- Kayaks: hull cracks, UV damage, leaky compartments
Knowing these helps you inspect smarter, not harder.
Is it always possible to test gear before buying, like stoves or tents?
Answer:
Not always, but try when possible.
- Ask the seller to demonstrate the item (e.g., light a stove, pitch a tent)
- Bring small essentials (lighter, pump, batteries) if meeting in person
- Testing reveals issues visual checks can miss — like leaks, alignment problems, or uneven heating.
