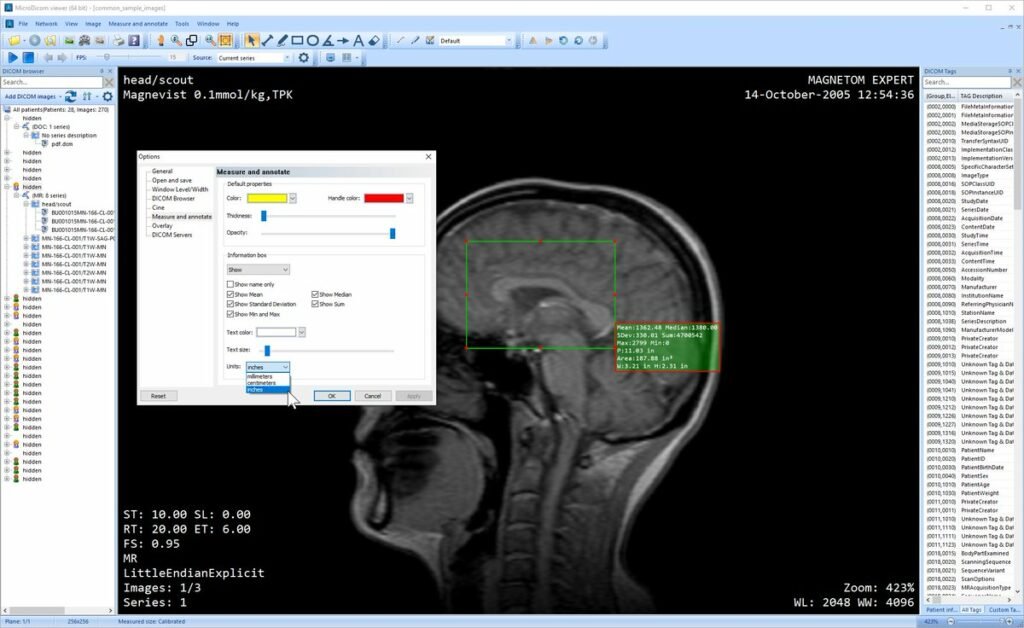
Micro DICOM is powerful and versatile imaging software used for viewing medical images such as MRI, CT, and X-ray scans. Installing the software correctly is crucial to ensuring its optimal performance. In this guide, we will provide a detailed outline for MicroDICOM installer, covering all the necessary steps and considerations to help you make the most of this valuable tool.
What are the system requirements for installing Micro DICOM?
Micro DICOM has specific system requirements that must be met for successful installation. These include the operating system, processor, memory, and disk space. Ensure that your system meets these requirements before proceeding with the installation.
Operating System: Micro DICOM is compatible with Windows operating systems, including Windows 7, 8, and 10.
Processor: A minimum of 1 GHz processor is recommended for smooth operation.
Memory: At least 1 GB of RAM is required for optimal performance.
Disk Space: Ensure that you have sufficient free disk space for installing the software and storing medical images.
How to download the Micro DICOM installer?
Before installing Micro DICOM, you need to download the installer from the official website. Follow these steps to download the software onto your computer.
– Visit the official Micro DICOM website or trusted software download platform.
– Locate the download section and select the appropriate installer based on your system specifications (32-bit or 64-bit).
– Click on the download link and save the installer file to a location on your computer.
What are the steps for installing Micro DICOM?
Once you have downloaded the Micro DICOM installer, you can proceed with the installation process. Follow these steps to install the software on your computer.
– Double-click on the downloaded installer file to initiate the installation process.
– Follow the on-screen instructions provided by the installer wizard.
– Choose the installation directory and any additional settings as per your preferences.
– Wait for the installation process to complete, and then launch Micro DICOM to ensure that it is functioning properly.

How to configure Micro DICOM for optimal use?
Configuring Micro DICOM settings is essential for customizing the software to meet your specific requirements. This section will outline the key configuration options and settings to enhance your user experience.
– Open Micro DICOM and navigate to the settings or preferences menu.
– Customize the display settings, such as window layout, image contrast, and zoom options.
– Configure network settings for remote access and image sharing if required.
– Explore additional features and plugins to enhance the functionality of Micro DICOM.
Conclusion
Installing Micro DICOM is a straightforward process, provided that you meet the system requirements and follow the outlined steps. By following this guide, you can ensure that Micro DICOM is installed correctly and configured to meet your imaging needs. Harnessing the power of Micro DICOM software can significantly improve the efficiency and accuracy of medical image analysis and interpretation.


